
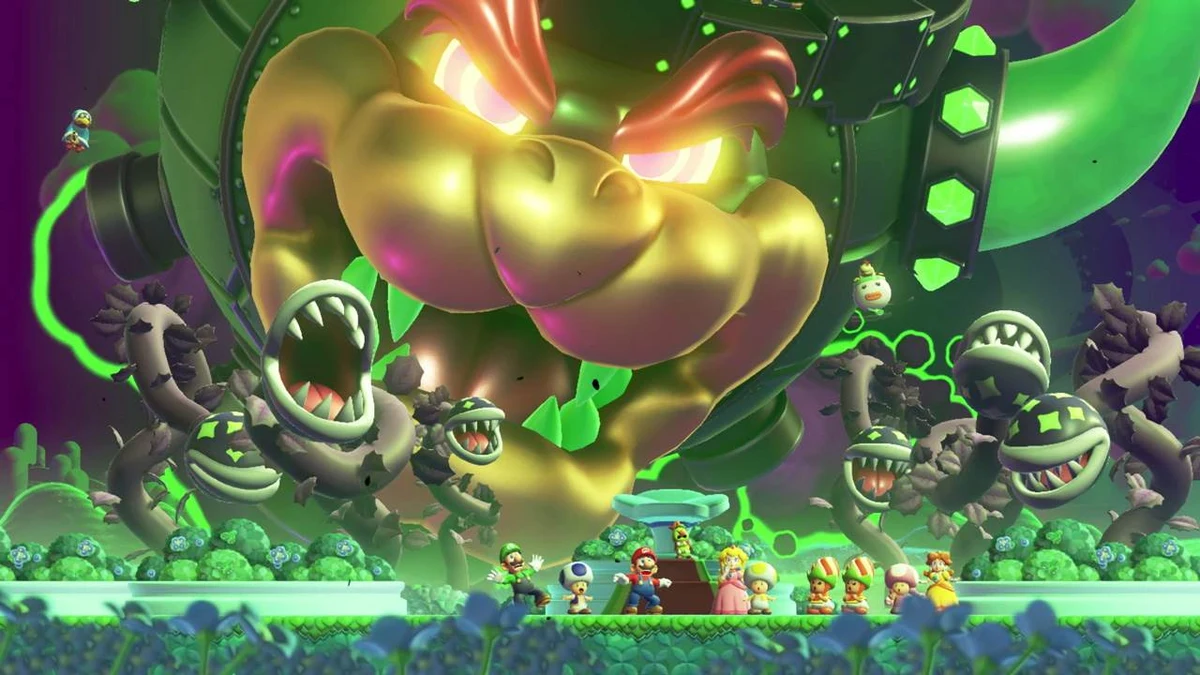
Badges are one of the biggest gameplay shake-ups in Super Mario Bros. Wonder, letting players customize how their character moves, explores, and survives in every course. Unlike power-ups, which are temporary and course-specific, a Badge is equipped before you start a level and stays active for its entire duration, changing how you approach platforming, combat, and secret hunting. With 24 Badges to choose from in the base game, picking the right one for the right situation can make the difference between a frustrating stage and a smooth run. This guide breaks down the Badge types and highlights which ones are worth prioritizing, and when.
How Badges Work in Super Mario Bros. Wonder
Before diving into specific picks, it helps to understand the system. Badges are equipped from the pause menu or the course-select map, and only one can be active at a time. They fall into three categories, each color-coded for quick identification: Action Badges (red) grant new movement abilities, Boost Badges (blue) provide passive effects that run automatically in the background, and Expert Badges (yellow) apply powerful, often game-altering effects once unlocked. You earn most Badges by completing dedicated Badge Challenge courses scattered across the Flower Kingdom, while others can be bought with Flower Coins at Poplin Shops. Expert Badges specifically require clearing the game’s toughest Expert Badge Challenge stages, so they function as a reward for players chasing full completion.
Because you can freely swap Badges between courses, there is no wrong choice permanently — the real skill is matching the Badge to the level’s layout and your own goals, whether that is speed, safety, or secret-hunting.
Best Action Badges for Movement and Exploration
Action Badges change your character’s core moveset, and a few stand out as broadly useful across many stages.
Parachute Cap is arguably the most beginner-friendly Action Badge. It lets you use your hat to glide, extending your air time and giving you much more control over tricky jumps and gaps. It is especially useful in courses with wide chasms or precision platforming sections, since it forgives small timing mistakes.
Grappling Vine turns your jump into a grappling hook that can latch onto certain blocks and ceilings, letting you swing across gaps that would otherwise require a power-up. This Badge shines in courses built around vertical traversal or when you are trying to reach an out-of-the-way Flower Coin.
Floating High Jump, which behaves similarly to Luigi’s signature scuttle jump, adds extra hang time to your jumps and is a solid all-rounder for players who want more room to correct mistakes mid-air without committing to a more situational Badge.
Best Boost Badges for Everyday Runs
Boost Badges apply automatically, which makes them ideal for players who want a passive advantage without changing how they play.
Safety Bounce is one of the most practical Badges in the entire game. It saves you once per fall from bottomless pits, lava, or poison, bouncing you back to safety instead of costing a life. Because the effect resets as soon as you touch solid ground again, it can save you repeatedly across a single course, making it a strong pick for levels with narrow ledges or tricky enemy knockback.
Sensor is invaluable for completionists. It alerts you when you are near a 10-Flower Coin or a Wonder Seed, which takes a lot of the guesswork out of hunting collectibles. If your goal is 100% completion rather than just reaching the flagpole, this Badge is worth equipping on your second or third pass through a course.
Auto Super Mushroom gives you a free power-up boost at the start of every course, effectively granting an extra hit of protection before you even begin. This is a great safety net for tougher stages or for younger and less experienced players, since it buys an extra cushion against mistakes.
Coin Magnet, which pulls nearby coins toward you automatically, is a nice quality-of-life pick if you are grinding for coins to spend at Poplin Shops, though it is less essential than Safety Bounce or Sensor for most players.
Best Expert Badges for Advanced Players
Expert Badges require the most effort to unlock, since they are locked behind the game’s hardest optional stages, but they offer some of the most dramatic effects.
Once unlocked, Expert Badges like invisibility-granting options can trivialize certain enemy encounters, letting skilled players push into more experimental or challenge-run playstyles. Because these Badges are earned by clearing genuinely difficult courses, they double as a badge of honor (literally) for players who want to test their skills against the game’s toughest optional content.
When to Switch Badges Between Levels
The biggest mistake players make is picking one favorite Badge and never touching the menu again. Instead, think about what each course is asking of you. Levels with heavy platforming and gaps reward Parachute Cap or Floating High Jump. Levels packed with secrets and hidden Flower Coins reward Sensor. Levels with punishing hazards like lava or bottomless pits reward Safety Bounce. If you are replaying a course specifically to find its second Wonder Seed or a hidden Flower Coin, swapping to a Sensor or Grappling Vine Badge beforehand can save significant time compared to blind exploration.
For newer or younger players working through the game, Auto Super Mushroom and Safety Bounce together (across different attempts, since only one Badge can be active) form a strong safety-focused combination that reduces frustration without removing the challenge entirely.
Badges and the Wonder Effect
It is worth noting that most Badge abilities remain active even during a course’s Wonder Effect, when the level transforms in surprising ways. This means a well-chosen Badge, like Grappling Vine or Floating High Jump, can help you navigate the often chaotic platforming that Wonder Effects introduce, which is another reason to think carefully about your loadout before entering a course rather than treating Badge selection as an afterthought.
For a full rundown of every course, world, and mechanic in the game, check out our complete Super Mario Bros. Wonder guide, which covers everything from Wonder Flowers to boss fights alongside the Badge system covered here.
Final Tips for Badge Mastery
Ultimately, the best Badge is the one suited to the task in front of you. Keep Safety Bounce or Auto Super Mushroom on hand for punishing stages, switch to Sensor when you are hunting collectibles, and save the flashier Action and Expert Badges for when you want to experiment with new ways to move through a course. Because Badges can be freely swapped between attempts at no cost, there is no reason not to try several options on a stage that is giving you trouble. Experimentation is part of the fun, and Super Mario Bros. Wonder is designed to reward players who take advantage of the flexibility the Badge system offers.