
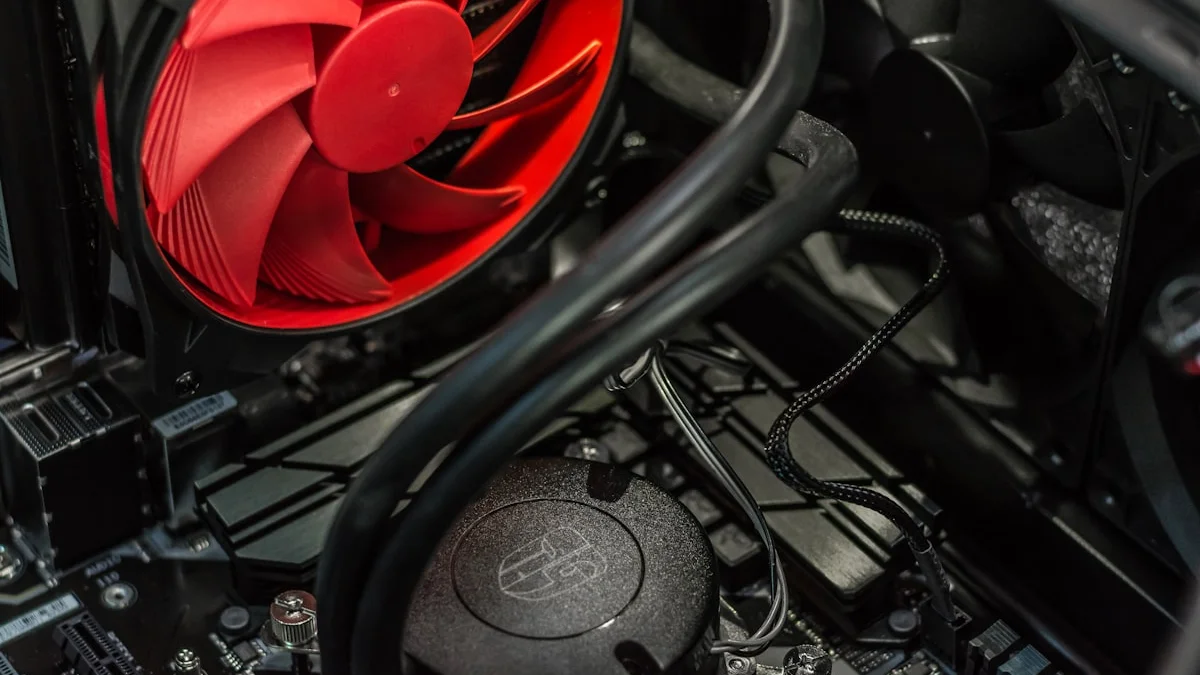
Cooling is one of those parts of a gaming PC that’s easy to ignore right up until it becomes the reason your framerate is inexplicably dropping mid-session. A capable CPU and GPU paired with inadequate cooling won’t perform the way their spec sheets promise, because modern components are designed to throttle themselves down rather than overheat, which quietly steals performance you already paid for. Understanding the real differences between air and liquid cooling, and how case airflow ties into both, makes it much easier to build a system that actually runs the way it should.
How Air Cooling Actually Works
Air cooling relies on a metal heatsink, usually made of aluminum or copper, that draws heat away from the CPU through direct contact and then dissipates that heat into the surrounding air using one or more fans blowing across densely packed fins. Modern air coolers, particularly larger dual-tower designs, have become remarkably effective and can handle even fairly demanding CPUs without breaking a sweat. Air cooling’s biggest advantages are simplicity and reliability: there’s no liquid to leak, no pump that can fail, and generally less to go wrong over the years. It also tends to be more budget-friendly than equivalent liquid cooling performance, and installation is usually more straightforward for first-time builders. The tradeoff is physical size. High-performance air coolers are large, and in compact cases or builds using memory with tall heat spreaders, clearance can become a real concern worth checking before you buy.
When Air Cooling Is Genuinely Enough
For the majority of gaming builds, a good air cooler is entirely sufficient, and the idea that liquid cooling is required for a “serious” gaming PC is largely a myth born from marketing rather than thermal reality. If you’re running a mainstream or even upper-mid-range CPU without pushing it into extreme overclocking territory, a quality air cooler sized appropriately for that chip’s thermal output will keep temperatures well within safe limits under sustained gaming loads. Air cooling is also the more sensible default if you value long-term low-maintenance reliability, if your case has good airflow already, or if you’re working with a tighter budget and would rather put the savings toward your GPU or storage. Unless you have a specific reason to need more cooling capacity, defaulting to a solid air cooler is a perfectly reasonable, and often underrated, decision.
When Liquid or AIO Cooling Makes Sense
Liquid cooling, most commonly in the form of an all-in-one (AIO) closed-loop cooler, moves heat away from the CPU using a pump-driven liquid loop that carries heat to a radiator, where fans dissipate it, similar in principle to a car’s cooling system. AIOs genuinely shine in a few specific scenarios: high-end CPUs that produce significant heat under sustained load, systems being pushed with aggressive overclocks, and compact or unusually shaped cases where a large air cooler simply won’t physically fit but a radiator can be mounted elsewhere in the chassis. AIOs can also be a better aesthetic and space-management choice in cases with front or top radiator mounts, since they move the bulk of the cooling hardware away from directly on top of the CPU socket, which can improve clearance around tall RAM modules or nearby components. The tradeoffs are cost, since a quality AIO usually costs more than an equivalently performing air cooler, and a small but real long-term risk of pump failure or, in rare cases, leaks, though modern AIOs from reputable brands are quite reliable. Liquid cooling isn’t inherently “better” than air, it’s a different tool suited to specific situations, particularly high thermal output chips and space-constrained builds.
Case Airflow Is the Foundation Either Choice Depends On
Neither air nor liquid cooling can perform well if the case itself is fighting against them, which is why airflow planning deserves just as much attention as the cooler choice itself. The basic principle is establishing a clear path for cool air to enter the case and warm air to exit, typically achieved with intake fans at the front or bottom of the case and exhaust fans at the rear and top, creating consistent directional airflow rather than turbulent, trapped hot air. A case with too few fans, poorly placed fans, or restrictive front panels with limited ventilation can bottleneck even an excellent cooler’s performance, because the cooler is only as effective as the air it has access to. It’s also worth paying attention to positive versus negative air pressure balance, meaning roughly matching intake and exhaust fan strength, since a mismatch can either starve the system of fresh air or pull in more dust than necessary through unfiltered gaps. Before assuming a cooler upgrade is needed, it’s worth checking whether case airflow is actually the underlying bottleneck, since sometimes a couple of well-placed additional case fans solve a heat problem more cheaply than a cooler swap would.
Recognizing the Symptoms of Thermal Throttling
Thermal throttling happens when a CPU or GPU automatically reduces its clock speed to prevent overheating, and while it protects the hardware, it also directly costs you performance, often in ways that are easy to misattribute to something else. Common symptoms include framerates that gradually decline over a longer gaming session rather than staying stable, performance that’s noticeably worse during summer months or in warmer rooms, fans that ramp up to very high, persistent speeds during gameplay, and benchmark or monitoring software showing CPU or GPU temperatures consistently near or at their maximum rated limits. If you notice these signs, the fix usually starts with checking case airflow and dust buildup before assuming you need a whole new cooler, since clogged filters and poor airflow are common, cheaply fixed culprits. If temperatures remain high after addressing airflow and dust, reapplying thermal paste, verifying the cooler is properly mounted, or upgrading to a higher-capacity cooler are the logical next steps.
Choosing the Right Cooling Setup for Your Build
The honest answer for most gamers is that a well-sized air cooler paired with sensible case airflow will handle the job reliably and affordably, and liquid cooling should be considered a deliberate upgrade for specific situations rather than a default requirement. Think about the thermal output of the specific CPU you’re pairing it with, your case’s physical clearance and airflow design, and whether you have a genuine reason, like aggressive overclocking or a compact case, to justify liquid cooling’s added cost and complexity. Whichever route you choose, don’t treat cooling as an afterthought purchased with whatever budget happens to be left over, since it directly determines whether the rest of your carefully chosen components actually perform the way you paid for them to.