
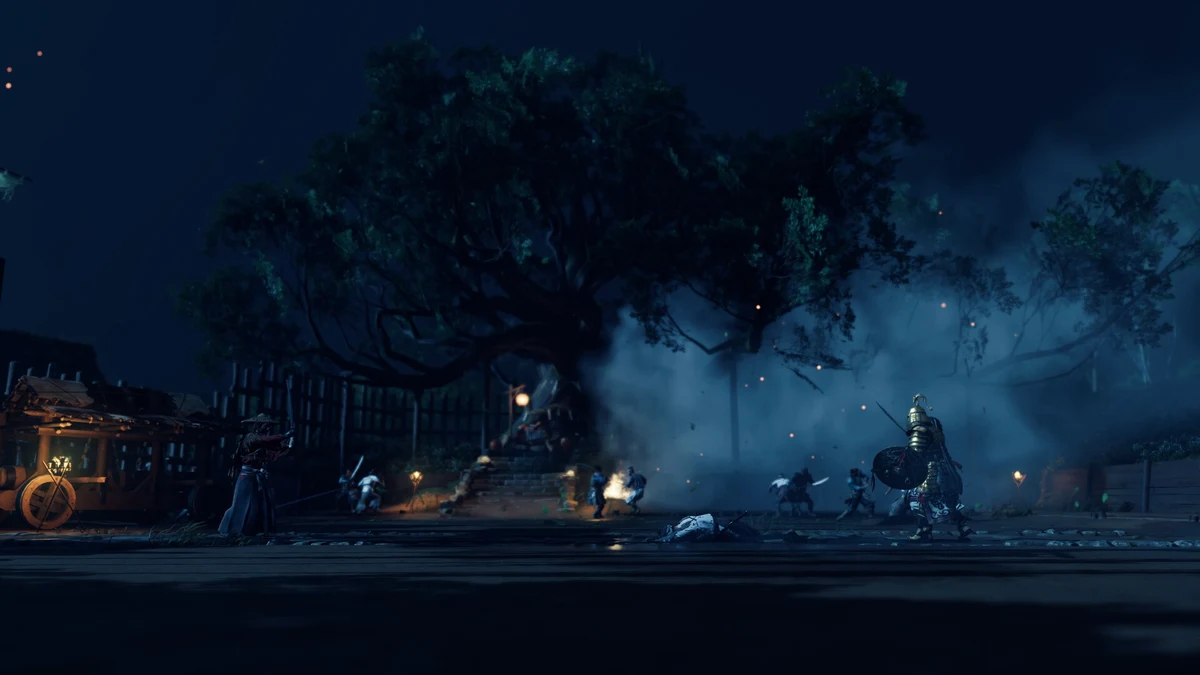
Jin Sakai’s swordplay in Ghost of Tsushima is built around reading an opponent’s weapon and answering it with the correct stance, then softening the fight beforehand with tools from his Ghost weapon pouch. Sucker Punch designed the combat so that no single button-mashing approach works against every enemy type on Tsushima or Iki Island; instead, the game rewards players who swap stances mid-encounter and mix in kunai, smoke, and sticky bombs to control space and pick fights on their own terms. This guide breaks down all four stances and the Ghost weapons built around the kunai, smoke bomb, and sticky bomb specifically, so new and returning players can build a combat rhythm that works in any standoff.
Why Stance Switching Is the Core of Jin’s Swordplay
Each of the four stances is tied to a specific enemy archetype the Mongols field across the island: swordsmen, shield-bearers, spearmen, and heavily armored brutes. Stances are unlocked progressively through the story, generally tied to observing or eliminating Mongol leaders, and each one carries its own upgrade tree of techniques that can be purchased with Technique Points earned as Jin’s Legend grows. In combat, the stance button can be tapped to switch instantly, even mid-combo, which is the key skill the game expects players to develop: a fight against a mixed Mongol patrol often means cycling through two or three stances in a matter of seconds. Learning to recognize enemy weapon silhouettes at a glance, rather than pausing to check, is what separates competent play from mastery here, and it is worth practicing in smaller skirmishes before taking on multi-enemy camps.
Stone Stance: The Reliable All-Rounder
Stone is the first stance Jin has access to and the one most players spend the early hours leaning on. It is built around two core moves, Puncture and a series of diagonal slashes and stabbing attacks, and it is specifically effective against standard Mongol swordsmen, who make up the bulk of enemy patrols in the early game. Because it is available from the start and has no real weakness against basic enemies, Stone functions as the default stance to fall back into whenever you are unsure what you are facing, or when fighting a mixed group and cycling between other stances for their specialized matchups.
Water Stance: Breaking Through Shields
Water Stance is unlocked after observing or killing three Mongol leaders and directly answers the shield-bearing enemies who otherwise stonewall a straightforward sword attack. A strong attack from Water Stance knocks an enemy’s shield out of position for a moment, opening a window to land free hits before they can reset their guard. Without this stance, shield-carrying Mongols can turn into frustrating damage sponges, so it is worth prioritizing the unlock as soon as it becomes available in the story.
Wind Stance: Answering the Spear
Spearmen are dangerous specifically because of their reach and their ability to land strikes that are difficult to interrupt with a standard sword swing. Wind Stance, unlocked after defeating eight Mongol leaders, solves this with a stance that blends sword strikes with a kick attack, sometimes called the typhoon kick, that closes distance and staggers spear-wielding enemies. Investing a skill point into the Wind Stance tree increases the stagger damage of that kick, making it even more effective at shutting down spear-heavy encounters, which become increasingly common as the story progresses into tougher Mongol-held territory.
Moon Stance: Taking Down Brutes
The fourth and final stance, Moon, becomes available after taking down fifteen Mongol leaders and is designed for the large, heavily armored brute enemies who show up more frequently in the game’s later acts. These enemies are tanky enough that Stone, Water, or Wind attacks bounce off with minimal effect, but Moon Stance levels the playing field against them. Because Moon unlocks last and targets the toughest enemy type in the game, it is often the stance players lean into for the final stretch of the campaign and for New Game Plus encounters.
The Ghost Weapons Arsenal
Ghost weapons are the gadgets Jin carries alongside his sword, and they are unlocked over time by spending Technique Points earned through story progress, liberating Mongol camps, and growing Jin’s Legend rank. The core Ghost weapons include the kunai, the black powder bomb, the sticky bomb, the smoke bomb, the wind chime, and the firecracker, each filling a different role in disrupting, distracting, or damaging enemies before or during a fight. Because Technique Points are limited early on, it is worth deciding whether you want to prioritize sword techniques, stance upgrades, or Ghost weapon unlocks first based on your preferred playstyle, whether that is direct swordplay or the stealthier “Ghost” approach the game is named after. Wind chimes and firecrackers, in particular, are worth unlocking early even for combat-focused players, since pulling a single guard away from a group with a thrown chime can turn a dangerous multi-enemy fight into a series of one-on-one duels.
Kunai, Smoke Bombs, and Sticky Bombs in Detail
These three tools are the backbone of most Ghost weapon loadouts and are worth understanding individually.
Kunai are thrown blades that can stagger an enemy on hit and have a chance to outright kill weaker foes, making them useful both as a ranged finisher against a lone Mongol and as an opener before rushing in with your sword. Their low resource cost and fast throw speed make them one of the most efficient tools in the game once unlocked, and they remain useful even in the late game as a way to soften a target before closing the distance.
Smoke bombs create a cloud that breaks enemy line of sight, which is useful for escaping after being spotted, repositioning during a losing fight, or setting up a free hit while enemies stumble around confused. Upgrades to the smoke bomb extend how long the cloud lingers and, at higher tiers, can even restore some of Jin’s health while he stands inside it, turning a defensive tool into a small combat advantage. This makes the smoke bomb one of the few Ghost weapons that serves both an offensive and a purely survival-oriented purpose depending on how it is used.
Sticky bombs are thrown explosives that adhere directly to a target rather than relying on landing at their feet, which removes the risk of a miss against a moving enemy. They deal solid direct damage along with an area-of-effect stagger, making them particularly effective against small clusters of enemies standing close together, such as a group defending a checkpoint or gate. Throwing a sticky bomb at an archer or a Mongol leader before they can call for reinforcements is one of the more reliable ways to prevent a fight from spiraling into a full camp-wide alert.
Building a Stance-and-Weapon Combat Loadout
The strongest approach to any fight in Ghost of Tsushima blends stance awareness with Ghost weapon usage rather than treating them as separate systems. A common and effective pattern is opening an encounter with a kunai or sticky bomb to soften or stagger the first enemy who spots you, then transitioning into the stance that matches whichever weapon type is closing in fastest, and keeping a smoke bomb in reserve for when Resolve runs low or the fight turns against you. If you want a wider view of how combat fits into Jin’s overall journey and the choices around his identity as the Ghost, check out our complete Ghost of Tsushima guide for the full picture of the story and world.
Quick Reference: Matching Stance to Enemy Type
Stone Stance handles standard swordsmen and works as a safe default in mixed fights. Water Stance is built specifically to break shield-bearers’ guard. Wind Stance counters spearmen with its staggering kick. Moon Stance is reserved for large armored brutes who shrug off the other three stances. Layer in kunai for ranged staggers, sticky bombs for grouped enemies, and smoke bombs for escapes or repositioning, and you have a complete toolkit for handling anything the Mongol occupation throws at Jin across Tsushima and Iki Island.