
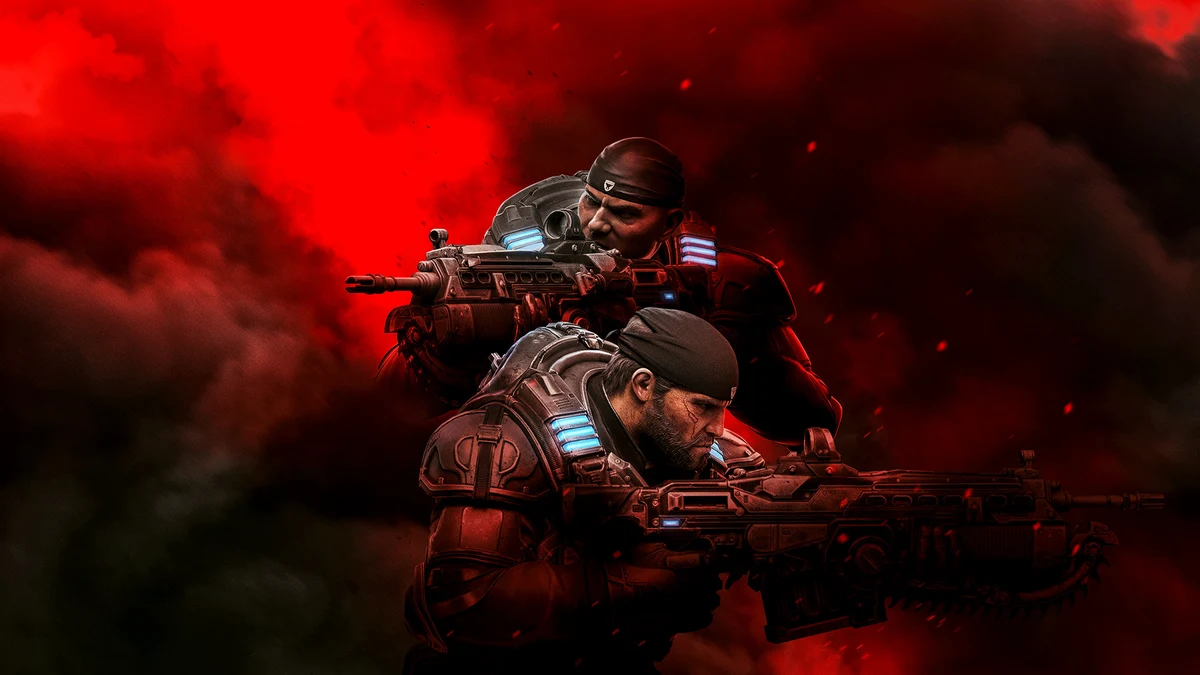
Horde mode is where Gears 5 turns into a full-blown tactical defense game, pitting up to five players against fifty escalating waves of the Swarm, the Locust, and Lambent enemies. Success depends less on raw aim and more on how well a squad balances offense, defense, and resource management. This guide breaks down the class system, the fortification tools available through the Fabricator, and the strategies that separate teams who wipe on wave 10 from teams who close out wave 50.
How Horde Mode Works in Gears 5
Horde in Gears 5 supports up to five players fighting through 50 waves on any multiplayer map, with empty slots filled by bots if your squad is short. A shorter variant, Horde Frenzy, condenses the fight into 12 waves for a faster session. Every player starts with access to a Fabricator, the central structure that lets the team purchase Fortifications like defensive walls and turrets, or fabricate weapons mid-match. Fabrication and Perk upgrades are paid for with Energy, which enemies drop on death. Energy you personally collect goes into your own private stash, but picking it up shares a portion with the whole team, and any surplus can be deposited back into the Fabricator for teammates to use later.
Difficulty ramps up steadily as waves progress, with tougher enemy variants and boss-style threats appearing at set intervals. Because the mode is class-based, the loadout and Perk choices your team makes before the first wave often matter more than individual gunskill once the later waves hit.
The Four Class Categories Explained
Gears 5 organizes its Horde classes into four categories based on battlefield role: Assault, Tank, Support, and Promotional.
Assault classes exist to deal damage. This category includes Blademaster, a melee class built around aggressive, fast strikes; Demolitions, which rains down explosive firepower on priority targets; Infiltrator, a shotgun-and-stealth class that gets in close; Marksman, a headshot specialist; and Nomad, a mobile sniper that uses Fear effects to create breathing room for the team.
Tank classes are built to draw enemy attention and boost team survivability while still contributing damage. This group includes Anchor, a pistol specialist who deploys an invincible barrier; Brawler, a melee-and-fire class that trades subtlety for raw power; Gunner, who specializes in heavy weapons and can absorb serious punishment; Pilot, who uses the Silverback exosuit for heavy damage and survivability; and Veteran, a rifle class focused on fundamentals and cover-based combat.
Support classes keep the team alive and supplied. Combat Medic is a rifle class that revives and heals; Jack is the one-of-a-kind support bot capable of cloaking, healing, and stunning enemies; Mechanic is an engineer-type class that builds defenses quickly and efficiently; Robotics Expert specializes in constructing fortifications that are extremely difficult for enemies to break; and Tactician provides leadership through target marking and ammo resupply.
Promotional classes, originally tied to crossover characters, round out the roster with Architect (an engineer class built around deception), Protector (a melee class that deploys a dome shield), Slugger (a shotgun specialist focused on crowd control), and Striker (a melee crowd-control class).
Best Class Picks for New and Experienced Players
New squads generally benefit from fielding at least one dedicated engineer-type class, such as Mechanic or Robotics Expert, since fortification quality has an outsized effect on how long a base holds. A Combat Medic or Tactician in the Support slot keeps the team topped up on health and ammo, which matters far more once waves start throwing armored and ranged enemies at you simultaneously. For damage, Demolitions and Marksman scale well because they can deal with both crowds and priority targets without needing to expose themselves. Experienced players who understand enemy spawn patterns can lean harder into aggressive picks like Blademaster or Infiltrator, since those classes reward map knowledge and precise positioning over raw survivability.
Whatever your composition, avoid stacking multiple pure damage classes with no one covering repairs or revives. Horde punishes teams that ignore its support and defense layer far more than it punishes teams that ignore top-end damage output.
Fortifications and the Fabricator System
Fortifications range from simple barriers that slow and damage the Swarm as they approach, to decoys that pull enemy fire away from your team, to turrets and weapon lockers that give the squad ranged support beyond personal loadouts. Weapon lockers are particularly useful since they hold multiple guns that regenerate ammo over time, giving the team a steady supply of firepower without spending Energy repeatedly. Fortifications can be upgraded up to a maximum level, and engineer-focused classes are the most efficient at building and repairing them quickly, which is why most competitive Horde teams run at least one.
Positioning fortifications to funnel enemies into predictable choke points, rather than spreading them thin across an open base, is one of the simplest ways to extend a run. Auto-turrets and barriers placed at the two or three main approach routes will do more work than scattering a handful of defenses everywhere.
Energy Management and Taps
Beyond kills, Energy Taps scattered across each map are a critical income source. Interacting with a tap between waves grants the whole team bonus Energy, and as waves advance, additional taps become available to secure. Protecting a tap over multiple waves increases the Energy it yields over time, up to a cap, which makes early-game tap control one of the highest-value decisions a team can make. Rushing to secure and defend taps in the opening waves, even at some risk, tends to pay off heavily once the Fabricator needs serious investment for high-level fortifications and Perk upgrades.
Team Composition Strategies for Wave 50
Reaching wave 50 consistently requires a mix that covers damage, repair, and crowd control simultaneously. A common effective structure is one engineer (Mechanic or Robotics Expert) anchoring the base, one Support class keeping the team alive and supplied, and three Assault or Tank picks handling the actual killing. Communication about which lanes are under pressure matters more than individual class choice past a certain skill level, since Horde’s late waves frequently spawn multiple threats at once from different directions.
Skill Cards, which modify class Perks, should be leveled up over time using duplicates and in-game currency, and prioritizing the cards that support your team’s chosen strategy will noticeably improve survivability in later waves.
Tips for Surviving Boss Waves
Boss waves introduce tougher, often armored enemies that can shrug off standard damage output, so saving heavy weapons and Ultimate abilities for these moments is usually smarter than using them on regular waves. Keep an eye on Fortification health during boss waves specifically, since bosses often deal far more structural damage than standard Swarm troops. If your run is heading toward a wipe, it’s often better to fall back to a smaller, more defensible position than to try holding overextended lines. For more on how Horde fits into the wider Gears 5 experience alongside the campaign and Versus multiplayer, check out our complete Gears 5 guide.