
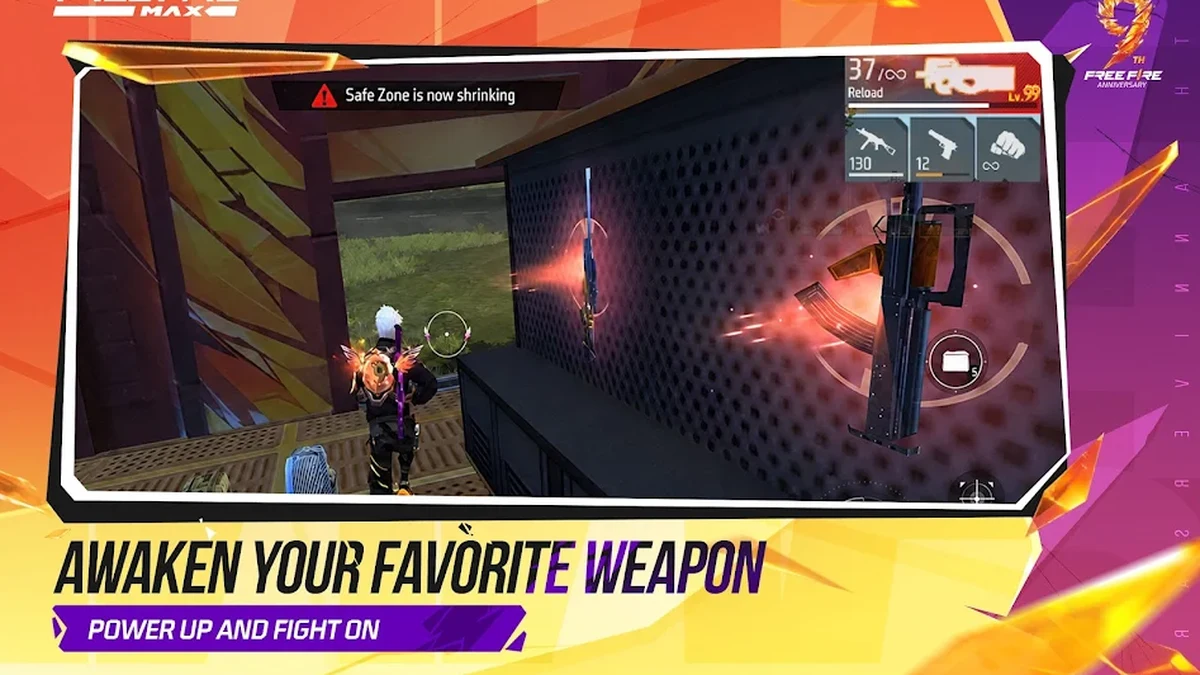
The first sixty seconds of a Free Fire match often decide whether you make it to the final circle or get eliminated before you even find a decent weapon. New players tend to either chase the flashiest landmark on the map, landing in the middle of a firefight with nothing but a parachute, or drift to the far edge of the map and end up with great loot but a terrible position relative to the closing safe zone. This guide walks through how to choose a landing spot with intention and how to loot efficiently once you’re on the ground.
Why Your Landing Spot Decides the Early Game
Free Fire matches are won and lost long before the safe zone starts forcing rotations, because your landing spot determines how much loot you find, how many enemies you’re likely to encounter, and how far you’ll need to travel before the first zone shrink. Landing in a high-traffic area means faster access to weapons and attachments, but also a much higher chance of dying within the first two minutes. Landing in a quiet area keeps you safer early but can leave you under-equipped if the safe zone forces you into a fight before you’ve found decent gear. The right choice depends on your goal for that specific match, whether that’s practicing gunfights, farming kills for a challenge, or simply trying to survive as long as possible.
Best Landing Spots on Bermuda Map
Bermuda is the original and most familiar Free Fire map, and certain locations are consistently popular because of their loot density. Clock Tower sits centrally and offers a strong mix of weapons and vehicles but attracts a large number of squads early, making it a genuine hot drop rather than a beginner-friendly choice. Factory and Peak are similarly loot-rich but come with heavy early competition. For players still learning positioning and gunfights, quieter locations like Mars Electric, Graveyard, or the smaller structures along the map’s edges offer enough loot to gear up safely while giving you time to practice before your first real engagement. These edge locations also tend to sit closer to where the safe zone frequently settles, reducing the amount of open-field rotation you’ll need to do later.
Best Landing Spots on Purgatory and Kalahari
Purgatory and Kalahari are smaller, faster-paced maps designed for shorter matches, which changes landing strategy considerably. On these maps, almost every location sees action quickly because the smaller footprint means squads collide sooner regardless of where they land. Beginners on these maps benefit from choosing locations slightly off the most obvious central landmark, since even a short delay before your first fight gives you time to loot armor and grenades. Because these maps compress the match length, a cautious approach that avoids the single busiest compound while still landing near enough loot to gear up is usually the safer strategy for new players building match awareness.
Hot Drop vs Safe Drop: Choosing the Right Strategy
A hot drop means landing in a loot-dense, high-traffic area expecting an immediate fight, while a safe drop means landing away from other squads to loot uncontested. Hot drops are useful for players who want to practice gunfights and are comfortable losing matches quickly in exchange for combat repetition, since you’ll often be fighting within the first thirty seconds. Safe drops are better suited to players still learning the map, item management, and rotation timing, because they buy time to understand what’s happening around them without immediate pressure.
A useful middle ground for beginners is what’s sometimes called a “warm drop,” landing adjacent to a popular hot zone rather than directly inside it. This lets you loot buildings that other squads pushed through or bypassed, pick up gear left behind after early fights, and potentially catch a weakened squad after their own hot-drop battle, all while avoiding the initial chaos.
Efficient Looting: What to Grab First
Once you land, prioritize a weapon over anything else, even a basic pistol upgrade, since being unarmed is the single most dangerous state to be in during the early game. After securing a weapon, grab any available armor or helmet, as these reduce incoming damage significantly and are often overlooked by players who rush straight to weapon crates. Medkits and grenades should come next, followed by attachments like extended magazines or scopes if you have time before rotating. Avoid spending too long searching a single building for cosmetic loot or vehicles when a nearby structure with basic essentials would let you move on faster. Speed matters just as much as thoroughness in the opening phase, since every extra second spent looting is a second an enemy squad could be closing in on your position.
Reading the Safe Zone Before You Land
Checking the initial safe zone circle before your parachute drops is one of the most overlooked habits among beginners. If you land far from the center of that first zone, you’ll need to rotate early, often while under-equipped, which puts you at a disadvantage against squads who landed inside or closer to the safe area. Experienced players glance at the plane’s flight path and the shrinking zone indicator together to estimate roughly where later zones are likely to settle, then choose a landing spot that balances loot quality with a shorter overall rotation distance. This single habit, checking the zone before committing to a landing spot, is one of the fastest ways to reduce unnecessary vehicle and open-field deaths.
Beginner Mistakes That Get You Killed Early
The most common beginner mistake is parachuting directly on top of a building where you can already see other players landing, drawn in by loot markers without checking for nearby squads first. Another frequent error is over-looting, spending two or three minutes fully clearing a compound while ignoring the shrinking zone entirely, which forces a rushed and dangerous rotation later. Players also tend to underestimate vehicle noise, driving through contested areas and alerting every squad within earshot instead of rotating on foot or using cover. Finally, many beginners loot with their guard down, failing to check corners or listen for footsteps while sorting through their inventory, which leaves them exposed to being third-partied mid-loot.
Building a consistent landing and looting routine, rather than improvising every match, is one of the fastest ways to climb out of beginner-level survival rates. For a broader breakdown of ranks, weapons, and general mechanics, check out our complete Free Fire guide, which covers the fundamentals this article builds on.