
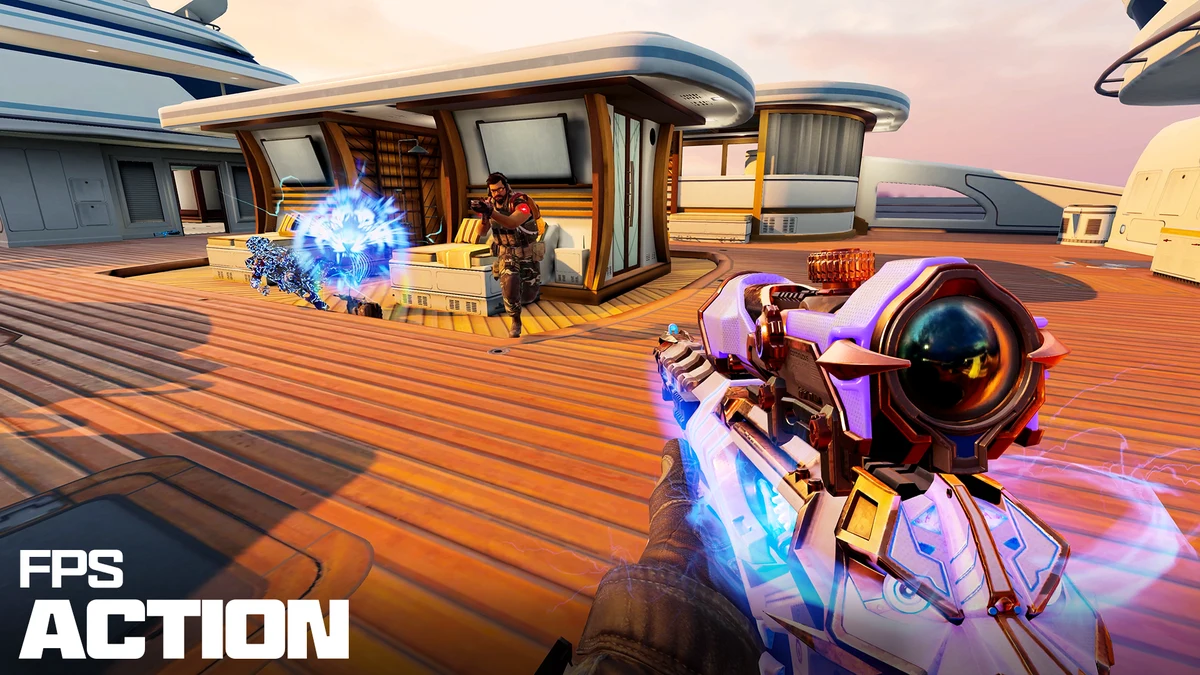
Battle Royale is one of the two pillars of Call of Duty: Mobile, running alongside the multiplayer versus modes on a much larger scale. Matches can hold up to 100 players dropping onto sprawling maps, and unlike traditional multiplayer, survival, looting, and positioning matter as much as gunskill. This guide focuses specifically on the Isolated map, the class system, and the strategic decisions that separate players who make it to the final circle from those who get eliminated early.
What makes Isolated different
Isolated is one of the flagship Battle Royale maps in COD Mobile, built by combining recognizable locations pulled from the Modern Warfare and Black Ops series with new areas exclusive to mobile. It supports up to 100 players per match and offers a mix of dense urban zones, open farmland, coastal areas, and elevated terrain, giving every playstyle a place to operate. Because the map blends familiar named locations with original layouts, players coming from console or PC Call of Duty titles will recognize some callouts immediately, while other zones require learning from scratch.
The map’s size means rotations matter as much as gunfights. Players who ignore the shrinking safe zone in favor of chasing kills often find themselves caught in the open when the circle closes, so treating Isolated as a positioning puzzle first and a shooting range second tends to produce better placements.
Choosing a Battle Royale class
Unlike multiplayer, Battle Royale in COD Mobile uses a class system with unique abilities that function similarly to a hero shooter’s ability kit layered onto a traditional battle royale. There are more than a dozen specializations to choose from, each built around a specific playstyle:
- Scout carries a Sensor Dart that reveals nearby hostile positions on the map and a Tracker ability that shows enemy footprints, making it one of the strongest classes for players who like to hunt down remaining squads late in a match.
- Medic deploys a Medical Station that heals continuously and reduces revive and healing times, which makes it extremely valuable in squad modes where keeping teammates alive determines whether you can fight for a win.
- Ninja uses a Grapple Hook for fast repositioning along with Dead Silence to reduce movement noise, ideal for players who want to flank or escape dangerous fights.
- Defender brings a deployable Transform Shield and passive damage reduction against non-gunfire sources, useful for holding a position or reviving teammates under fire.
- Mechanic deploys an EMP Drone that disrupts enemies continuously, which pairs well with vehicle-heavy playstyles and can shut down enemy utility during a fight.
- Clown is a more situational pick built around zombie-summoning utility that can distract or damage nearby enemies, best used by players comfortable with unconventional plays.
There is no single best class for every situation. Solo queue tends to favor self-sufficient classes like Ninja or Scout, while squad play benefits heavily from support-oriented classes like Medic and Defender that keep the whole team alive longer.
Landing spots and early-game loot priorities
Where you land determines how your first five minutes will go. High-traffic named locations offer better loot density but guarantee early fights, while quieter edge-of-map locations let you gear up safely at the cost of needing a longer rotation into the circle later. New or lower-skill players generally benefit from landing away from the most popular drop zones, looting fully, and rotating in with a complete kit rather than fighting for scraps against multiple squads at once.
Once you land, prioritize armor plates, a primary weapon with decent ammo reserves, and a self-revive or healing item before worrying about attachments. A fully kitted weapon is worthless if you get downed before you finish looting it. Vehicles are scattered across Isolated and are essential for covering large distances quickly, especially once the safe zone starts shrinking and you need to relocate from the far edge of the map.
Mid-game positioning and circle management
The middle portion of a Battle Royale match is where most eliminations happen, largely because players are forced into closer proximity as the safe zone shrinks. Rather than sprinting directly into the center of the circle, rotate early and aim to reach high ground or defensible cover near the edge of the safe zone before it fully closes. This gives you sightlines on other squads rotating in late and reduces the chance you get caught crossing open ground when the zone shrinks again.
Listen for gunfire and use it as free information. Fights between other squads often thin out the lobby for you, and third-partying a weakened squad after they have already used their utility and ammunition is a consistently effective strategy, particularly in squad and duo modes.
Late-game and final circle strategy
By the time the match reaches its final few circles, positioning discipline matters more than raw aim. Avoid unnecessary fights unless you have a clear advantage in health, ammunition, or position. Use smoke grenades or flash utility to break line of sight when rotating across open ground, and always know where the next circle is likely to land so you are not sprinting blind under fire.
If you are playing squads, communication becomes critical in the final circles. Calling out enemy positions, coordinating revives, and deciding as a team whether to hold a position or push become the deciding factors in most endgame situations. Solo players should lean on their class ability at this stage, since a well-timed Grapple Hook escape or Medical Station heal can be the difference between a top-five finish and an early elimination.
For players who want a broader overview of the game’s systems before specializing in Battle Royale, check out our complete Call of Duty: Mobile guide, which covers progression, currency, and general mechanics across every mode.
Practicing outside of ranked BR matches
Battle Royale skills, including rotation timing, looting efficiency, and vehicle usage, are best practiced in casual matches before taking them into Battle Royale Ranked. Spend time intentionally landing in different zones of Isolated to learn the map’s layout, since map knowledge alone accounts for a significant portion of consistent high placements. Combine that map knowledge with a class that matches your playstyle, and disciplined circle rotations, and your average placement will improve steadily over time.