
Booting up Minecraft for the very first time is exciting and a little chaotic. There’s no tutorial popup telling you what to do next, no quest marker pointing you toward safety, and the sun is already sinking toward the horizon. That’s by design — Minecraft has always trusted players to figure things out themselves, and in 2026, with the game running on the year-based version system that replaced the old 1.21.x numbering, there’s more content packed into that first playthrough than ever. This guide walks brand-new players through the first hours of survival mode: what to do the moment you spawn, how to make it through night one, and how to build the crafting and mining progression that turns a naked, punching-trees character into a fully equipped adventurer. If you want a long-form reference for every mechanic in the game, bookmark our complete Minecraft guide for deep dives beyond the basics covered here.
Your First Five Minutes: Get Oriented Before You Panic
The instant you spawn, resist the urge to run in a random direction. Take thirty seconds to look around. Note any obvious landmarks — a hill, a lake, a distinctive tree cluster — because in the early game, getting lost is one of the most common ways new players lose hours of progress. Press F3 (Java Edition) to check your coordinates if you want a hard reference point to navigate back to later; on Bedrock, you can enable coordinates in the world’s Cheats or Game settings.
Your first practical goal is wood. Walk up to any tree and hold down the attack button (left-click on PC, hold the attack/break control on console or mobile) until the log breaks. You’ll want at least eight to ten logs before you stop, since wood is the backbone of your earliest tools and your crafting table.
Punching Trees and Your First Crafting Table
Once you have logs, open your inventory and convert them into planks — each log yields four planks. From there, place four planks in a square in your crafting grid to make a crafting table. Place it down, right-click (or the equivalent interact button) to open it, and you’ve unlocked the full 3×3 grid needed for real tools.
Your immediate priorities, in order, are:
- A wooden pickaxe (to mine stone)
- A wooden axe (to chop wood faster)
- A wooden sword (for early defense)
- A few torches, which require sticks and coal — if you don’t have coal yet, charcoal works identically and comes from smelting logs in a furnace
Wood tools are fragile and slow, but they exist purely to bridge you to stone. The moment you can reach stone, upgrade everything.
Surviving Night One: Shelter, Light, and Basic Defense
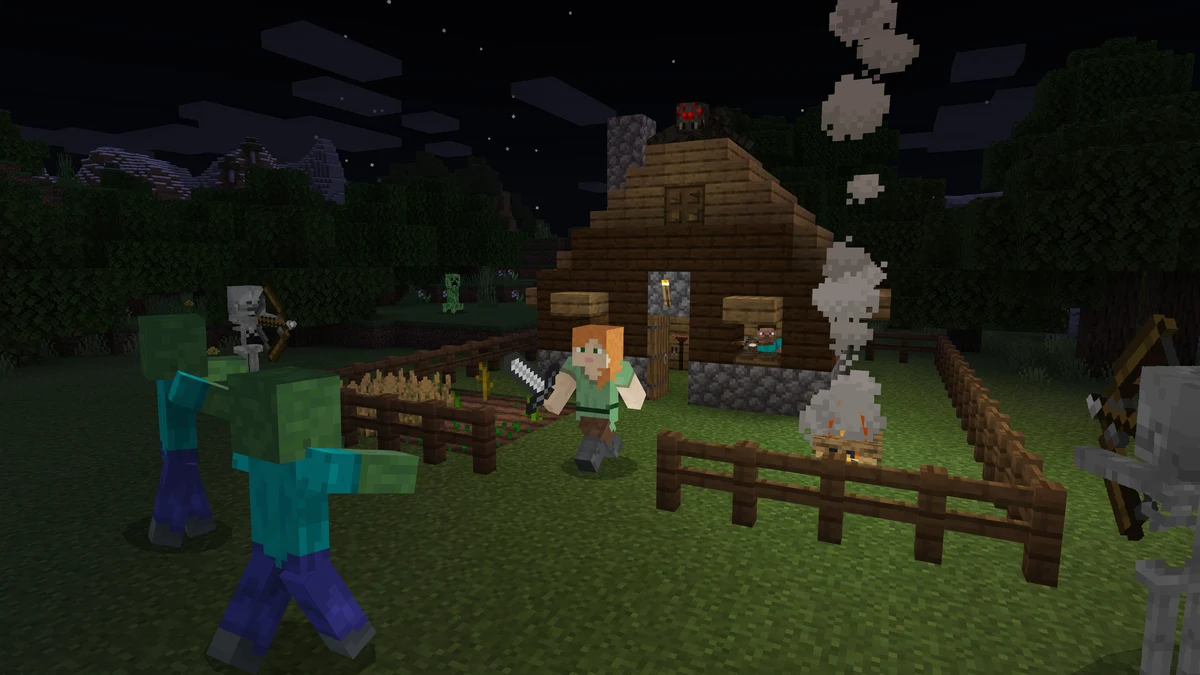
Minecraft’s day-night cycle runs roughly twenty minutes of daylight followed by ten minutes of night, and hostile mobs — zombies, skeletons, spiders, and creepers — spawn in darkness. You do not need an elaborate base for your first night. You need four walls, a roof, a door, and light.
The fastest reliable shelter is digging directly into a hillside or underground with your pickaxe, then sealing the entrance with dirt or cobblestone blocks. Place torches inside; mobs can’t spawn on well-lit blocks, and torches also mark your shelter so you can find it again. If you can’t find a hill fast enough, a simple 3×3 box built from dirt blocks works just as well — looks aren’t the point on night one, survival is.
Whatever shelter you use, seal every gap. Spiders can climb walls and squeeze through single-block openings, and a creeper detonating next to your walls can blow a hole straight through, so keep some spare blocks handy to patch damage.
The Mining Progression: Stone, Iron, and Beyond
Once you’re geared with basic stone tools, mining becomes your main engine of progress. Minecraft’s tool tiers gate what you can harvest, so understanding the ladder matters more than almost anything else early on.
| Tool Tier | Material Needed | Can Mine |
|---|---|---|
| Wood | Planks | Stone, coal ore |
| Stone | Cobblestone | Iron ore, lapis |
| Iron | Iron ingots | Diamond, redstone, gold |
| Diamond | Diamonds | Obsidian, ancient debris |
| Netherite | Diamond tools + netherite ingot | Everything, with extra durability and knockback resistance |
Coal is usually your first real find and it’s common near the surface — it fuels torches and furnaces. Iron is the tier that changes everything: with an iron pickaxe you can finally mine diamonds, and with iron ingots you can craft a bucket, shears, and a much sturdier sword and armor set. Caves, ravines, and the newer cave biomes are the fastest way to find ore in bulk rather than strip-mining blindly, though strip-mining at a fixed height is still a reliable fallback if you haven’t found a good cave system.
Be careful of lava, fall damage, and mob-filled caverns — bring food, torches, and a spare set of blocks to wall off dangerous tunnels behind you as you go.
Food and Hunger: Keeping Yourself Alive Long-Term
Your hunger bar sits above your hotbar as a row of drumstick icons. Let it run empty and you’ll stop regenerating health, then slowly take damage on higher difficulties. Early food sources are simple: kill cows, pigs, chickens, or sheep for raw meat, then cook it in a furnace for better hunger restoration. Bread, made from three wheat, is a reliable renewable option once you’ve found or planted a wheat field.
Longer-term, building a small farm — wheat, carrots, or potatoes near water — pays off enormously. It’s one of the first “automated” systems new players build, and it’s also a natural entry point into redstone-powered automation once you’re ready to go beyond manual farming; our beginner-friendly redstone guide covers simple mechanisms worth building once you’ve got the basics down.
Building Your First Real Base
After surviving a few nights, invest in a proper base near your spawn point or a resource-rich area. Good location criteria: flat ground, a nearby water source, and proximity to a cave system or mountain for ore access. A simple design — four walls, a couple of windows, a bed, storage chests, and a crafting area — is more than enough. Sleeping in a bed resets your spawn point and skips the night on Java and Bedrock alike, which is one of the single best quality-of-life habits to build early.
What’s New for Beginners in the Current Version
If you’re starting fresh in August 2026, you’re playing on the year-based update line that replaced the old 1.21 numbering. The 26.2 “Chaos Cubed” drop added the sulfur caves biome along with new sulfur and cinnabar blocks, and cave spiders now spawn naturally in more places, so exercise a little extra caution underground. The earlier 26.1 “Tiny Takeover” drop reworked baby animal models and added the golden dandelion, a flower that keeps baby mobs permanently small if that’s something you want for a farm or build. None of this changes the fundamentals in this guide, but it’s worth knowing the world you’re spawning into has a few new surprises compared to older tutorials floating around online.
Frequently Asked Questions
Q: What difficulty should a new player choose? Normal is the standard recommendation. Peaceful removes hostile mobs entirely, which is fine for pure building but skips core survival mechanics; Easy is a gentler ramp if you find Normal too punishing early on.
Q: How do I find diamonds quickly? In modern versions, diamonds generate most commonly between Y-level -64 and -54. Caving through natural cave systems at that depth with an iron pickaxe is faster than blind strip-mining, though both work.
Q: Do I need a specific seed to have a good start? No — any seed can produce a solid start. That said, some seeds spawn you near villages, ancient cities, or unusually rich terrain that makes the early game much smoother; check our roundup of the best Minecraft seeds if you want a head start.
Q: Should I play Java or Bedrock Edition as a beginner? Both are fully capable versions of the same game. Java has deeper mod support and is the more common choice for PC players who want mods or custom servers; Bedrock offers cross-platform play with console and mobile friends and generally better default performance on lower-end hardware.
Q: When should I start thinking about mods? Once you’re comfortable with vanilla survival — usually after your first full in-game week — quality-of-life mods can smooth out inventory management, mapping, and performance without changing the core game; our guide to the best Minecraft mods breaks down safe starting picks.
The Bottom Line
Every experienced Minecraft player was once standing in a field at sunset with nothing but their bare hands, wondering what to do next. The loop that gets you through — wood, tools, shelter, ore, food — never really goes away; it just gets more elaborate as you unlock better gear. Take it one system at a time, don’t panic when a creeper blows a hole in your first shelter, and lean on our complete Minecraft guide whenever you want to go deeper on a specific mechanic mentioned here.